Like the famous sundae, but in pudding pie form! This Banana Split Pie recipe doesn’t require an oven, and is super simple to prep!
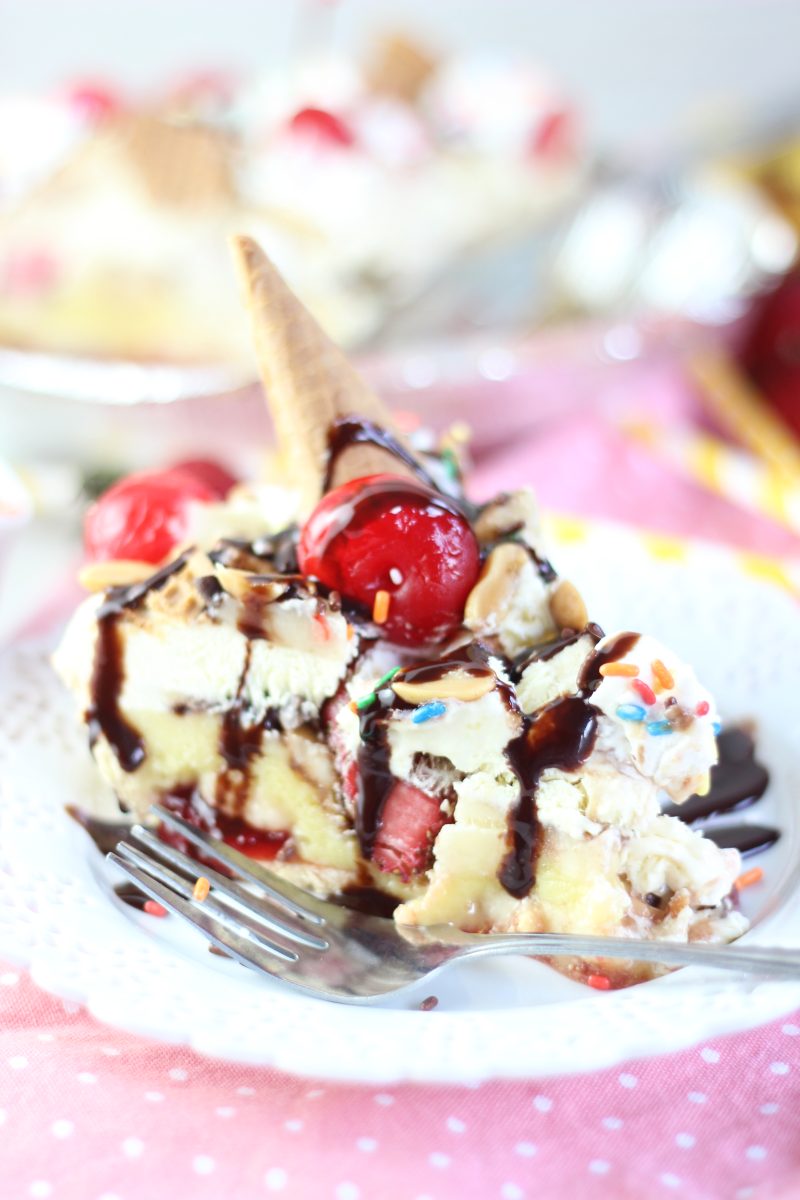
This was a messy pie, y’all. It’s the kind of pie where you all just grab a fork and start digging in from the pan.
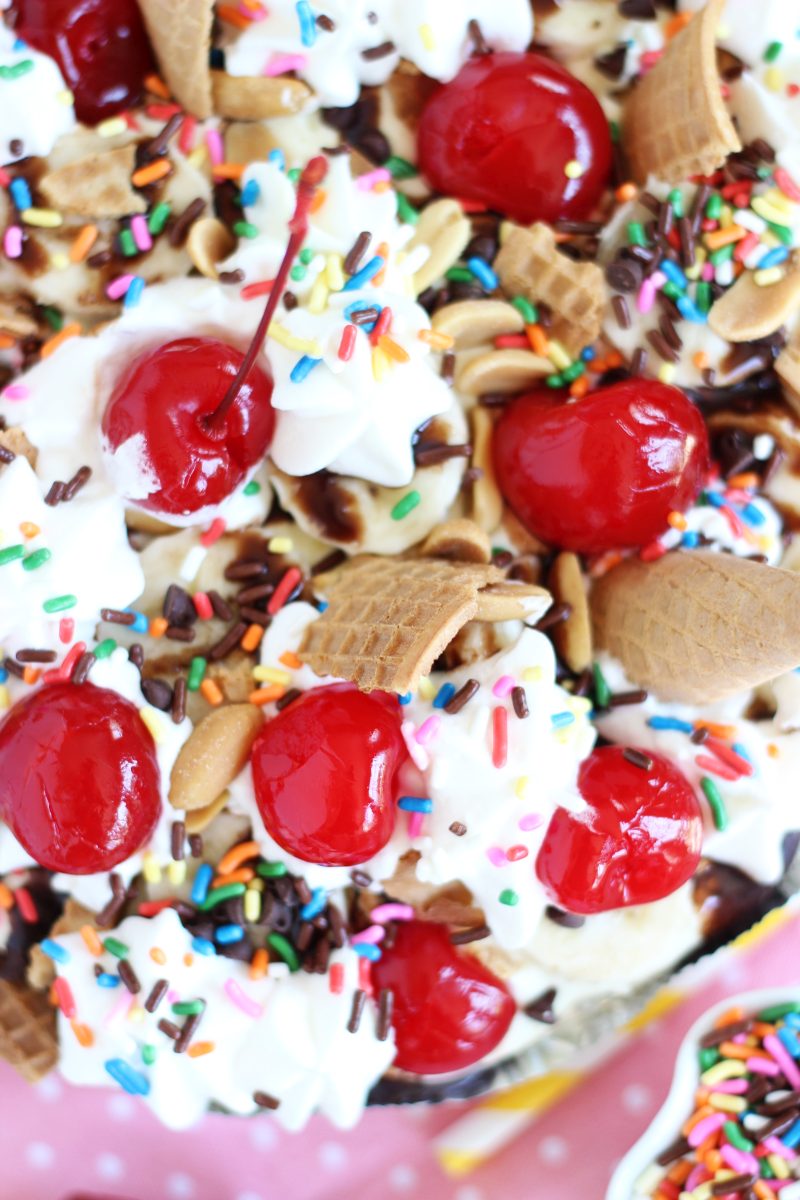
It was so much fun to make. There’s a bunch of little layers to this pie. Once you complete the main pudding layers of the pie, you load it up with toppings, just like a sundae. Unlike the sundae though, this has no ice cream. It’s a pudding pie, decked out as a banana split! Go here for a great frozen banana split ice cream dessert!
This pie is best for a small family picnic or a girls’ night in when you all just want to throw your forks in and go to town. Nothing fancy and no pretenses. Perfect for when you don’t need to have a beautiful presentation, you just want something fun, light, and delicious.

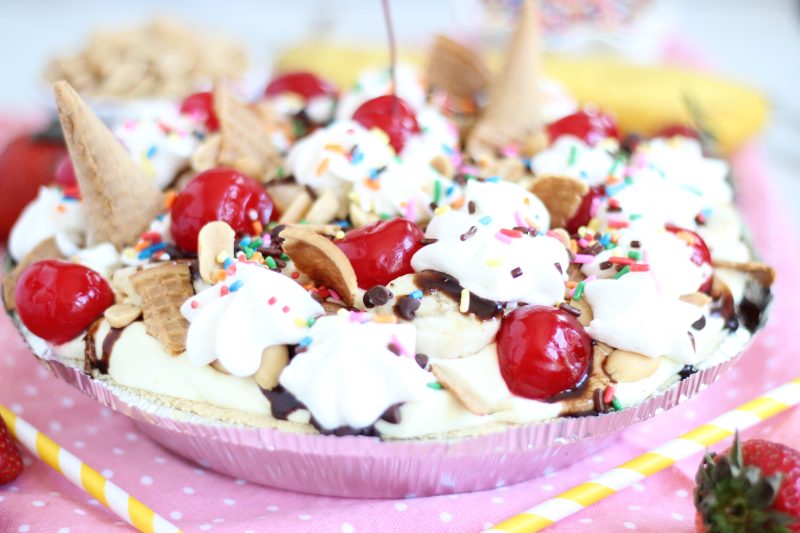
You can cut it into slices, sure, but freeze it first for about 2 hours so that it sets up pretty firm! It softens quickly, so it can be served shortly after cutting.
It’s completely no-bake. You don’t need an oven at all, so it’s a great dessert for summertime when you don’t want to heat up the kitchen.
Fair warning: in addition to being messy, it’s not a pie that keeps well. It’s more of a one shot deal. Bananas just don’t last more than a day or two in desserts, so you have to eat banana things up quickly. I know you know what I mean. It’s just the nature of banana desserts, but I still wanted to make sure I give you notice!
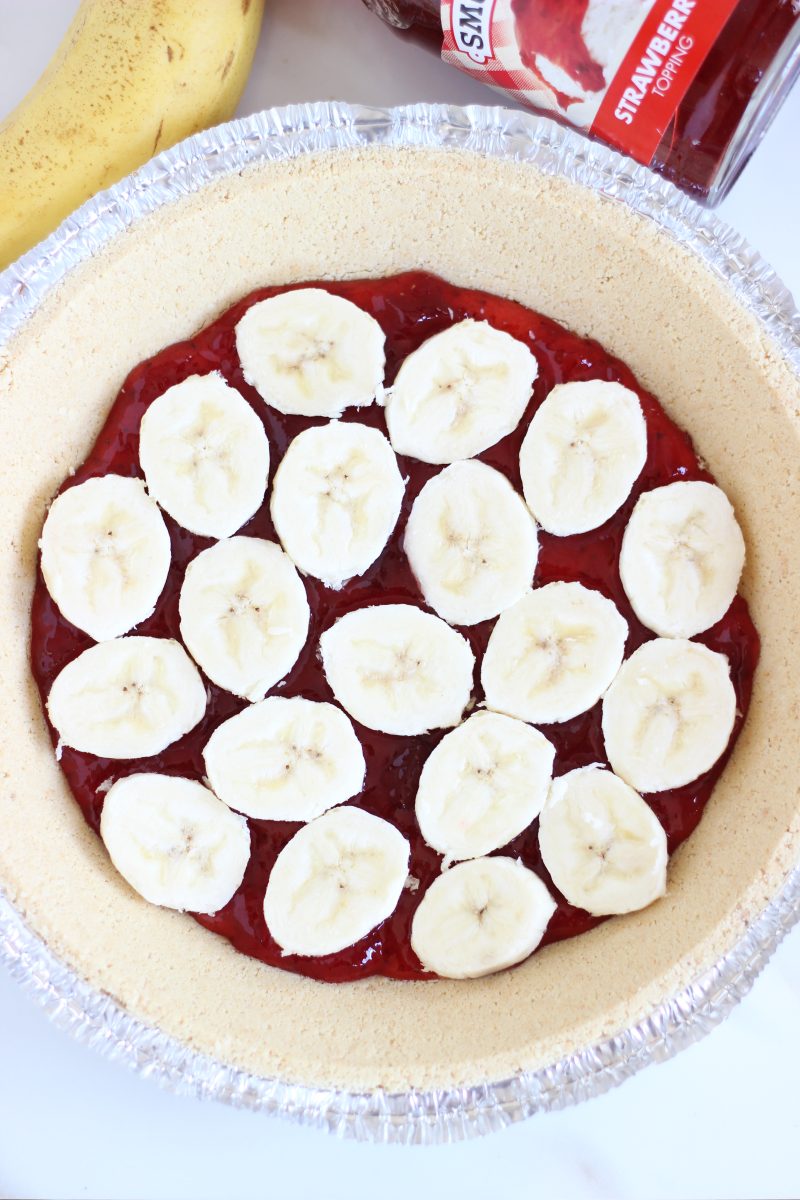
I started off this pie with a prepared shortbread crust (my favorite, and much better than graham cracker!), and spread the bottom of the crust with strawberry preserves for the first layer.
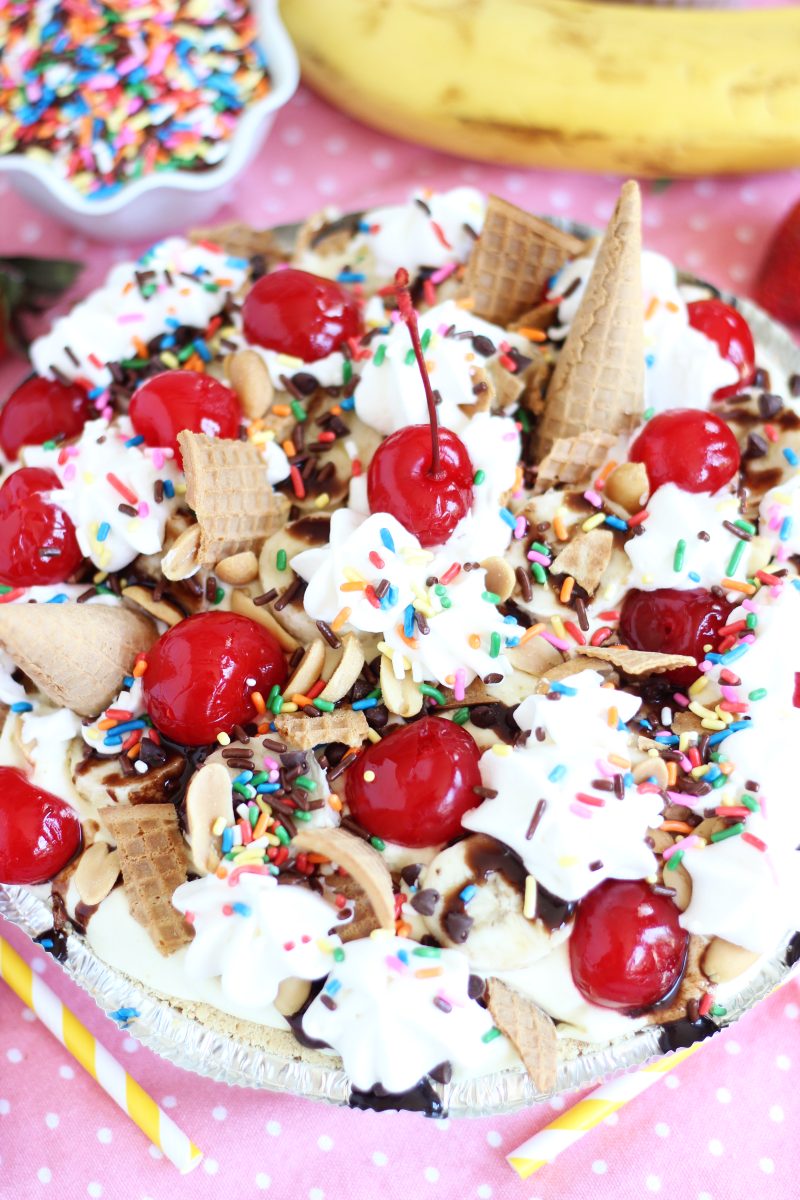
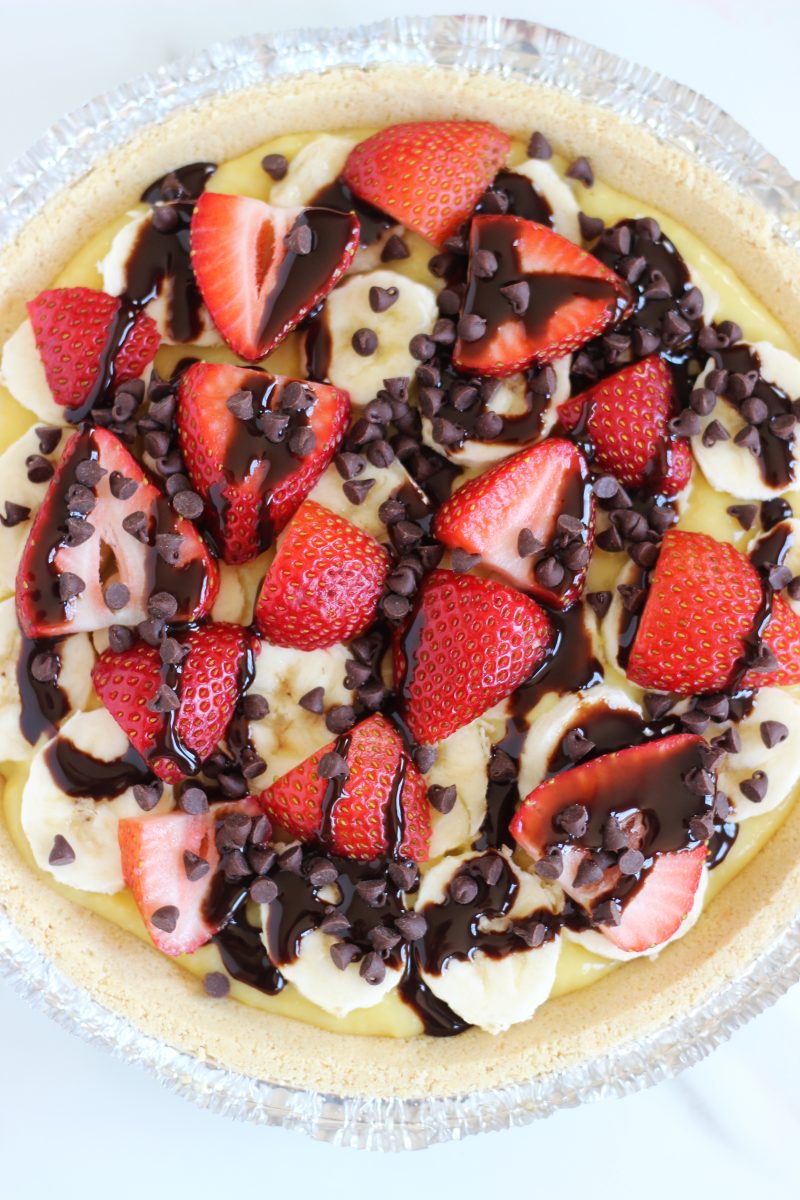
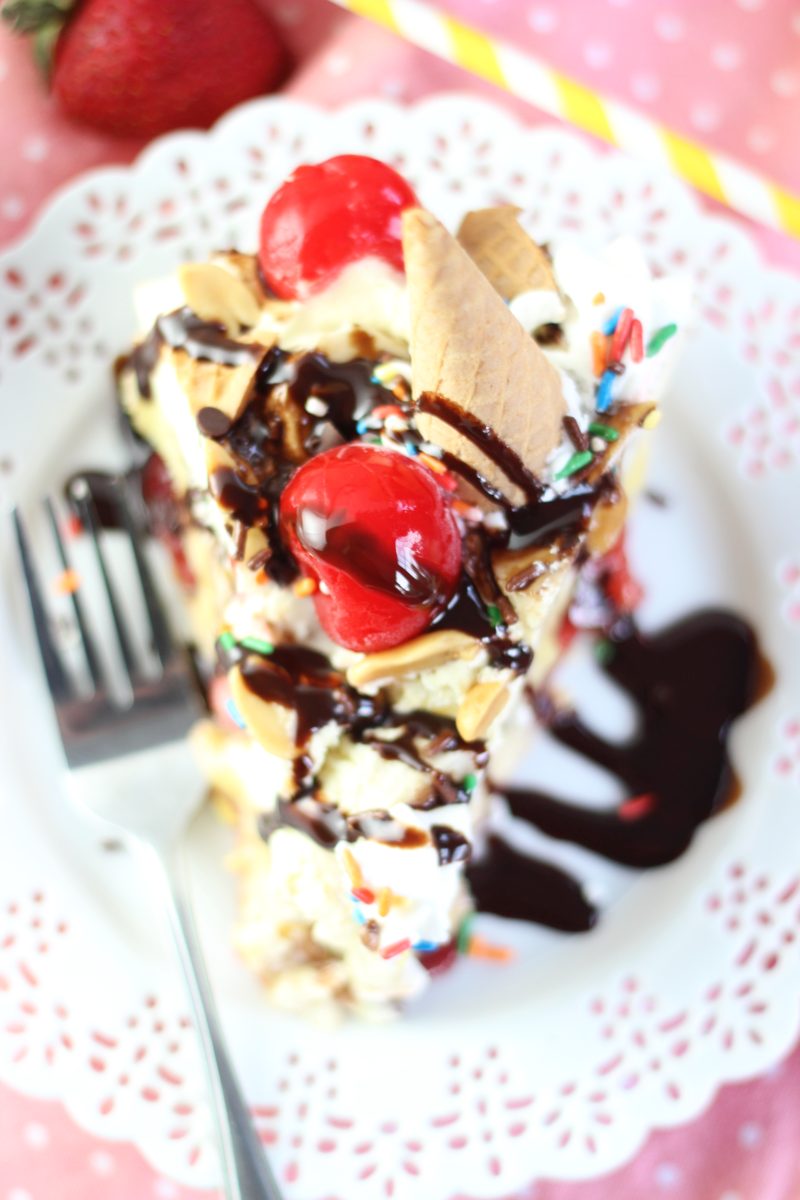
Next up, a layer of sliced bananas. You’ll top that with a few layers of pudding, throw in some sliced fresh strawberries, chocolate chips, chocolate sauce, salted peanuts, and maraschino cherries, and you’ve got the ultimate banana split sundae in a pie!
Set it with a good chill, and you’re ready to go.

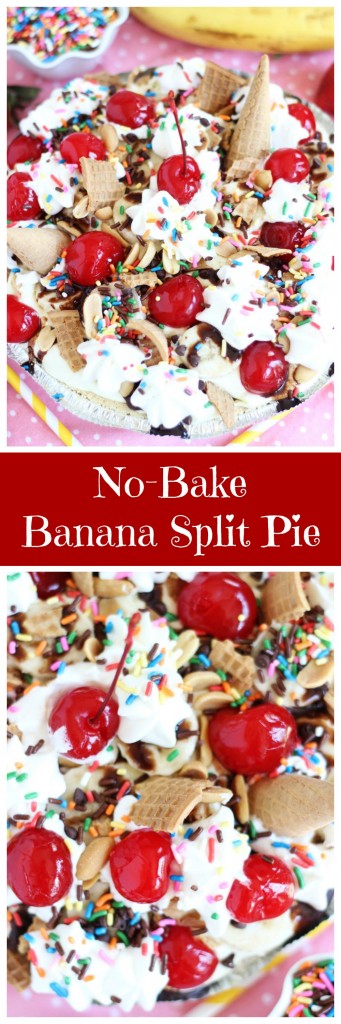
No Bake Banana Split Pie
Ingredients
- 1 prepared shortbread crust
- 1/2 c. strawberry preserves
- 3 medium bananas sliced into 1/2-inch thick disks, divided
- 2 - 3.4 oz. boxes instant banana or vanilla pudding
- 2 c. milk
- 4-5 large strawberries hulled, sliced
- 1/2 c. mini semi-sweet chocolate chips divided
- 1/4 c. chocolate syrup divided
- 1 - 8 oz. container whipped topping thawed
- 1/3 c. chopped salted peanuts
- 1 - 10 oz. jar maraschino cherries drained well
- sprinkles
- 1-2 ice cream waffle cones crushed, optional
Instructions
- Carefully spread the strawberry preserves onto the bottom of the pie crust, taking care not to dislodge any of the crust or crumbs.
- Cover the layer of jam with a single layer of banana slices.
- In a medium bowl, whisk together instant pudding and milk, stirring until thick.
- Spread half of the pudding mixture over the layer of jam and bananas.
- Top the layer of pudding with a single layer of banana slices, and the strawberry slices.
- Sprinkle half of the chocolate chips and drizzle half of the chocolate syrup over the strawberries.
- Add 2/3 of the container of whipped topping to the remaining pudding mixture, stirring until combined.
- Carefully spread it over the pie.
- Top with dollops of the remaining whipped topping, and with peanuts, maraschino cherries, sprinkles, remaining mini chocolate chips and chocolate syrup, and waffle cones. Garnish as much as you please!
- Freeze for 2-3 hours, or until firm, and then pie can be stored in the refrigerator. It just needs a good freeze to "set" it. Cut and serve.